
Replacing the remote batteries - LT pre 2023
Pre 2023 Lowering trailers:
Today we're going to be going over how to replace the batteries in your remote.
Tools Required
For this tutorial, you'll need:
- A Phillips head screwdriver
- A flathead screwdriver
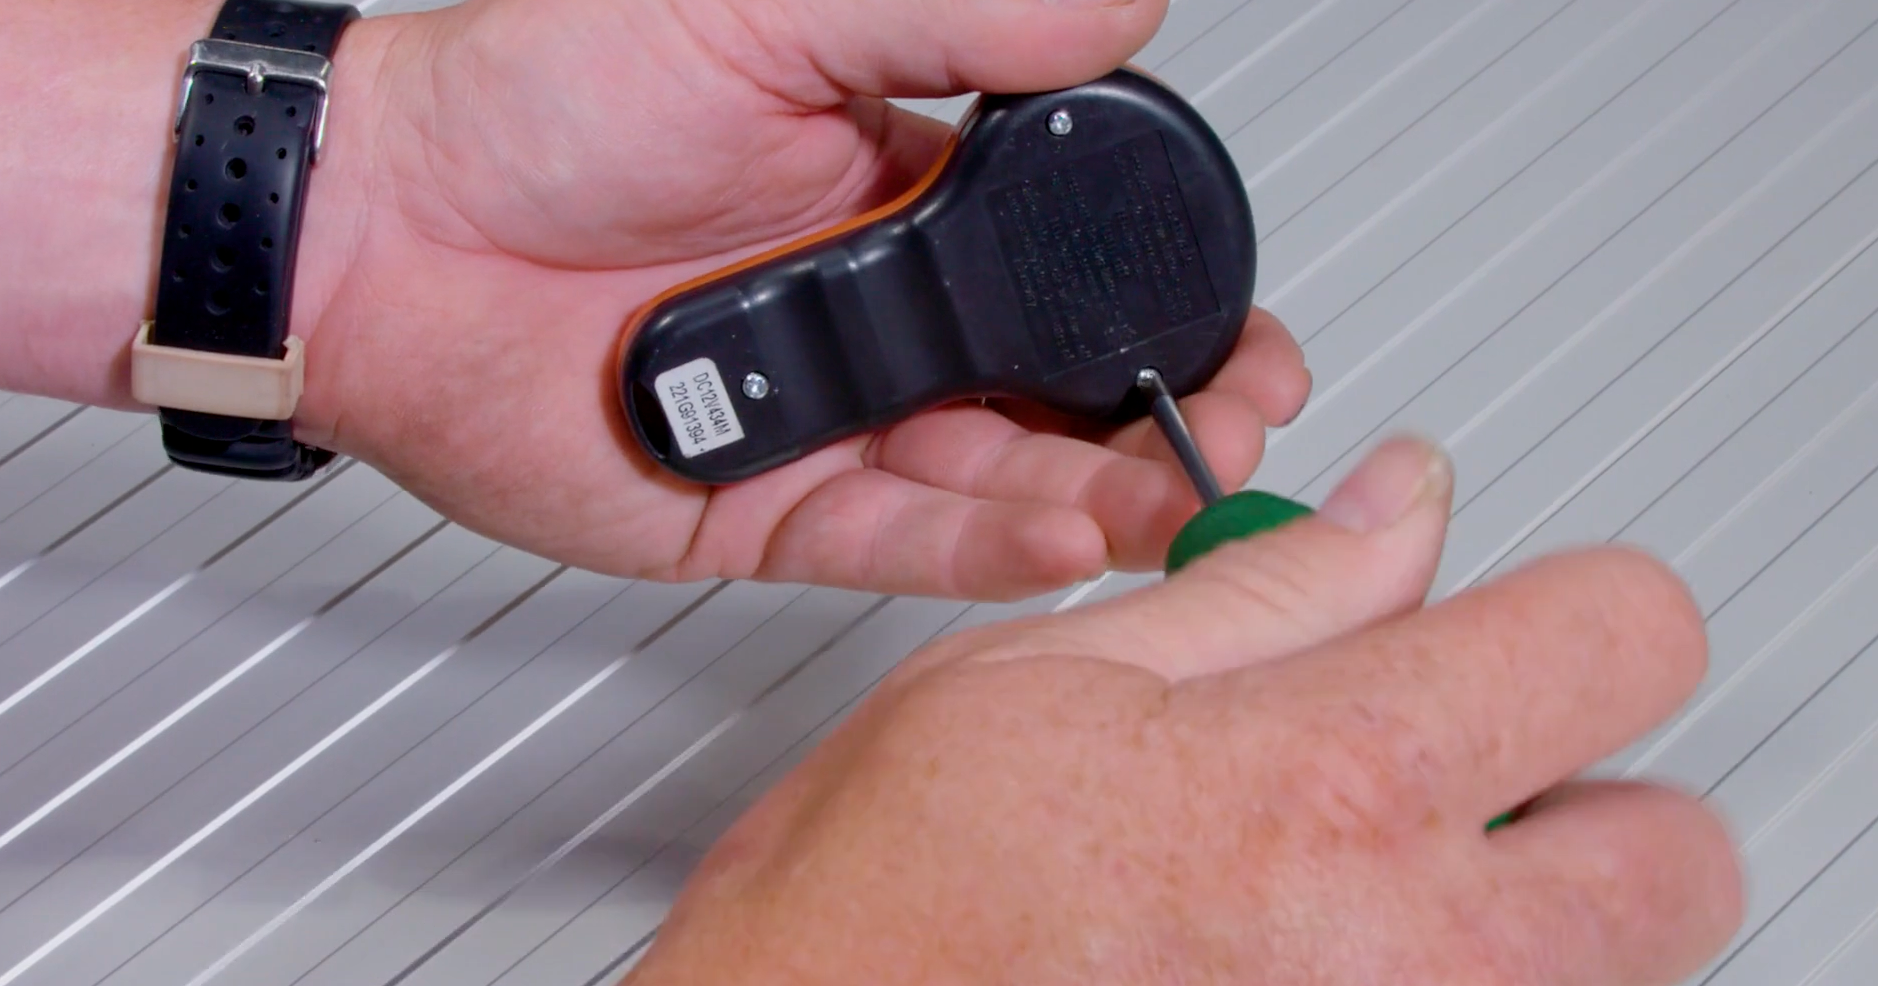
Accessing the Batteries
- Start by unscrewing the three screws in the back of the remote to access the batteries.
- Gently put the backing plate down to avoid losing any screws.
- Remove the remote from its case.
Removing Old Batteries
- Use a flathead screwdriver to push on the back of the batteries and remove them.
- Avoid confusing old batteries with new ones.
Installing New Batteries
- Once the old batteries are removed, reposition the battery holders.
- Insert new batteries. Both batteries must be over three volts.
Reassembling the Remote
- Place the remote back in its case.
- Put the cover on top and reattach the screws.
Activating the Remote
- Press the two buttons for three seconds to activate the remote.
Troubleshooting
If the remote still doesn't work after replacing the batteries, follow these steps:
- Test the batteries using a voltmeter; they should read three volts or more.
Replacing Faulty Batteries
- If any battery is reading less than three volts, it needs to be replaced.
Can't find what you're looking for? Click the links below for:
Manuals & Guides
Limited Warranty
Other Resources
Loading articles